CoreOS on Kimsufi: Round 2
Warning! This guide is out of date/obsolete.
Since the original CoreOS on Kimsufi post, things have changed slightly. The good news is, there’s a much nicer way to get up and running now! With OVH’s new installation template, getting CoreOS running on a Kimsufi server is now even easier!
Even better is that it comes with etcd, fleet and all of CoreOS’ good stuff pre-configured and ready to go out of the box.
Installing CoreOS
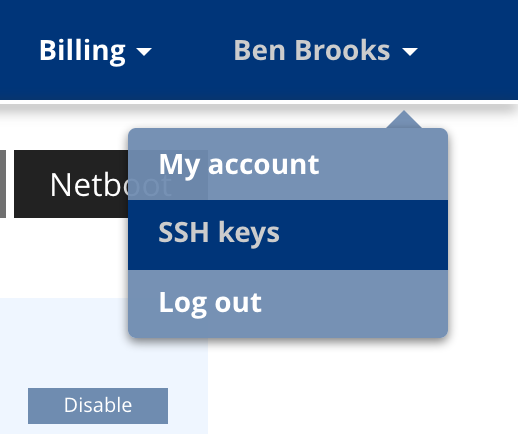
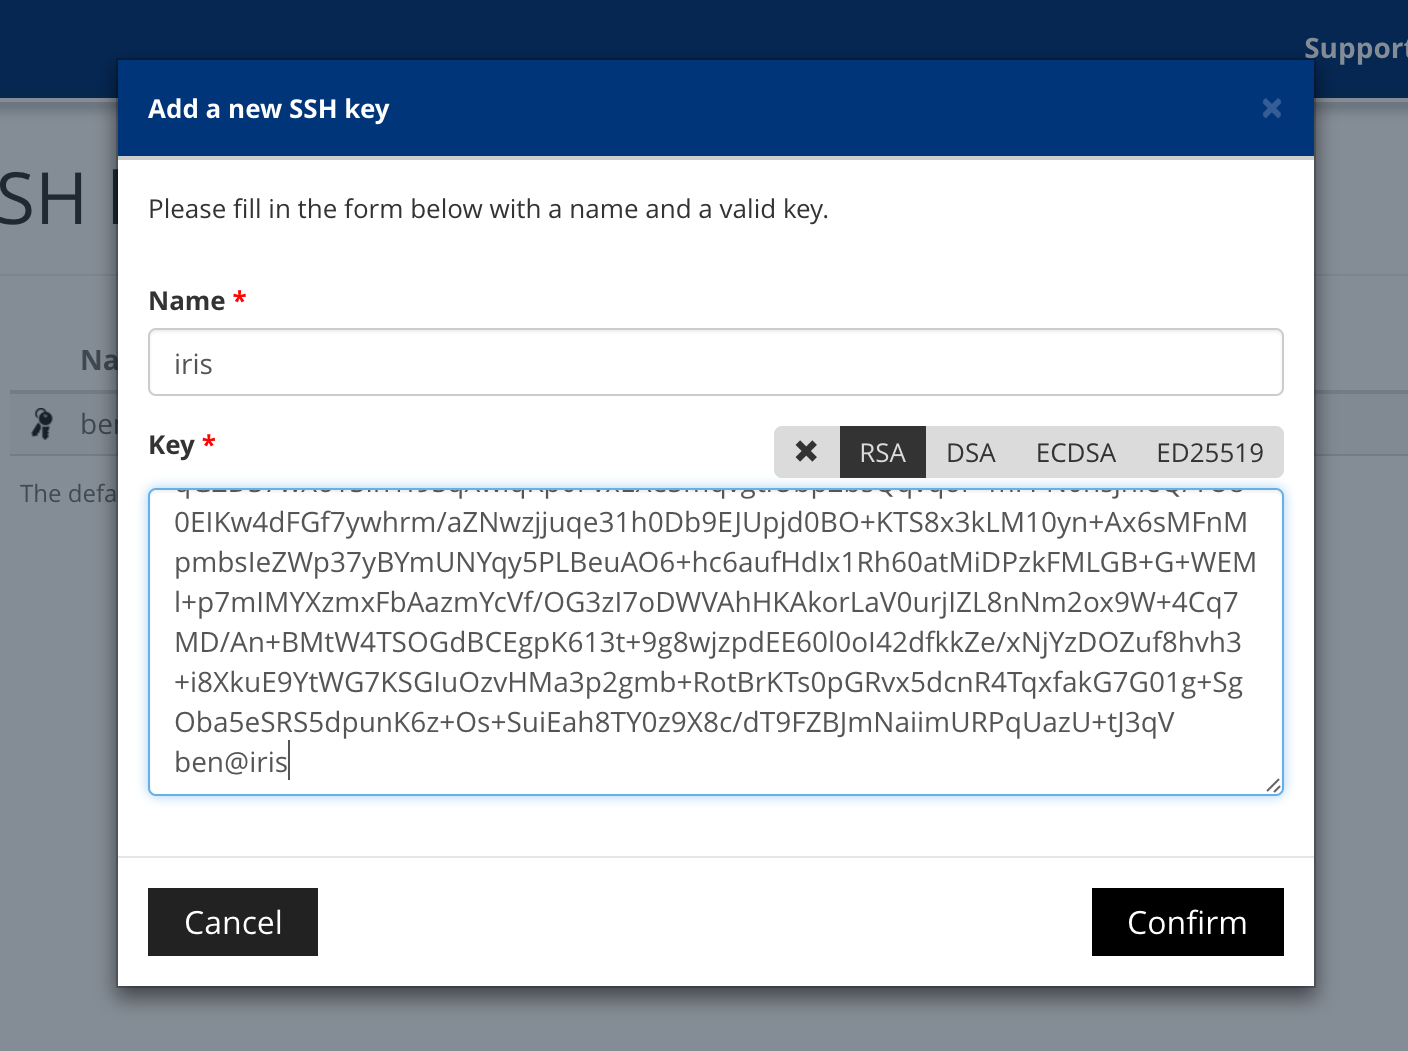
- (Optional) In Kimsufi manager, add your public ssh key if you’ve not already and set it as a default. This will allow password-less logins to your server.
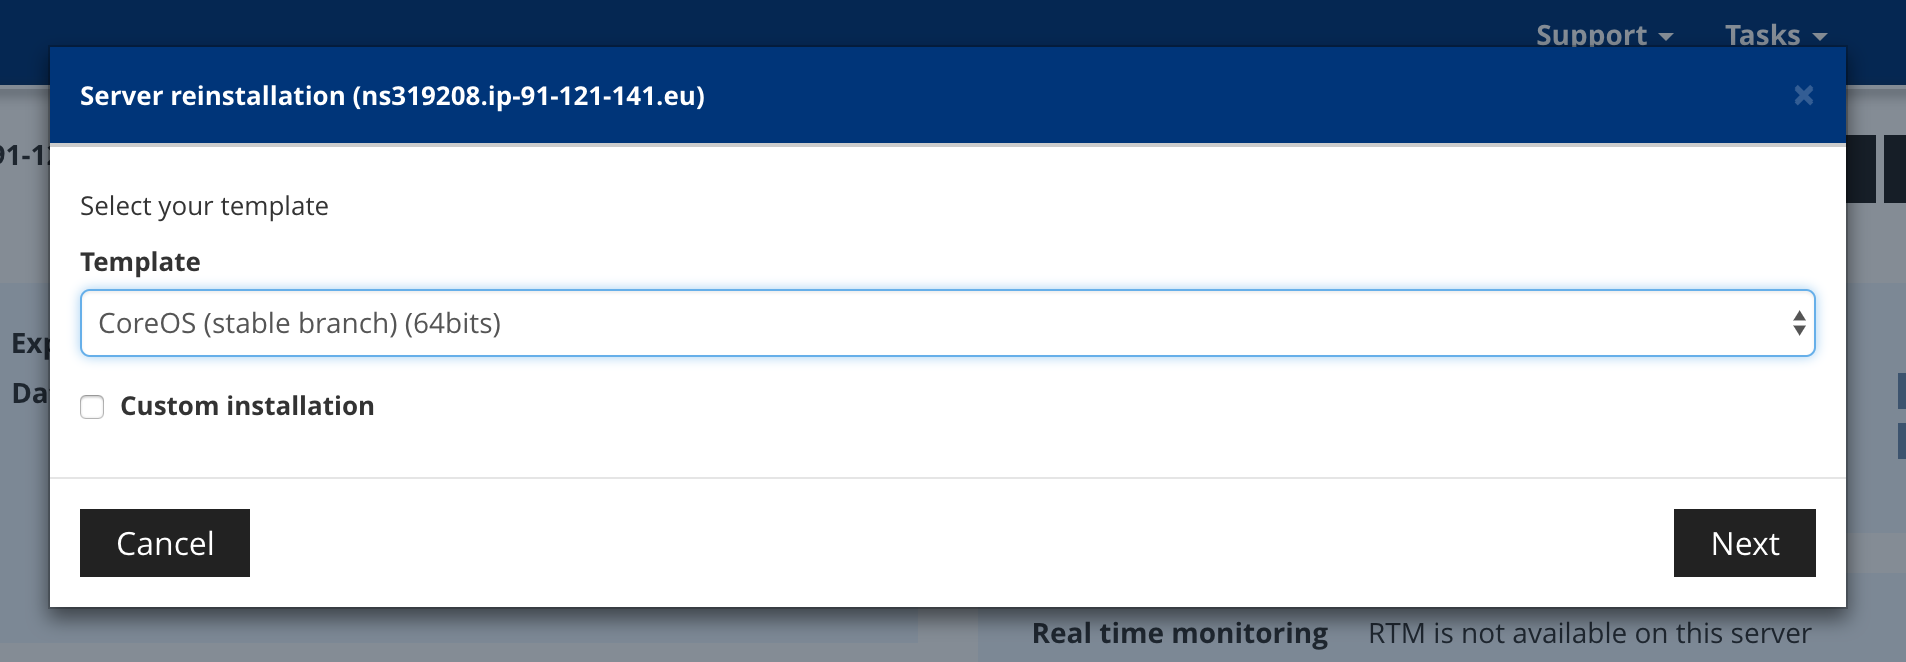
- In the dashboard, click
Reinstall, choose the CoreOS template and selectCustom installation.
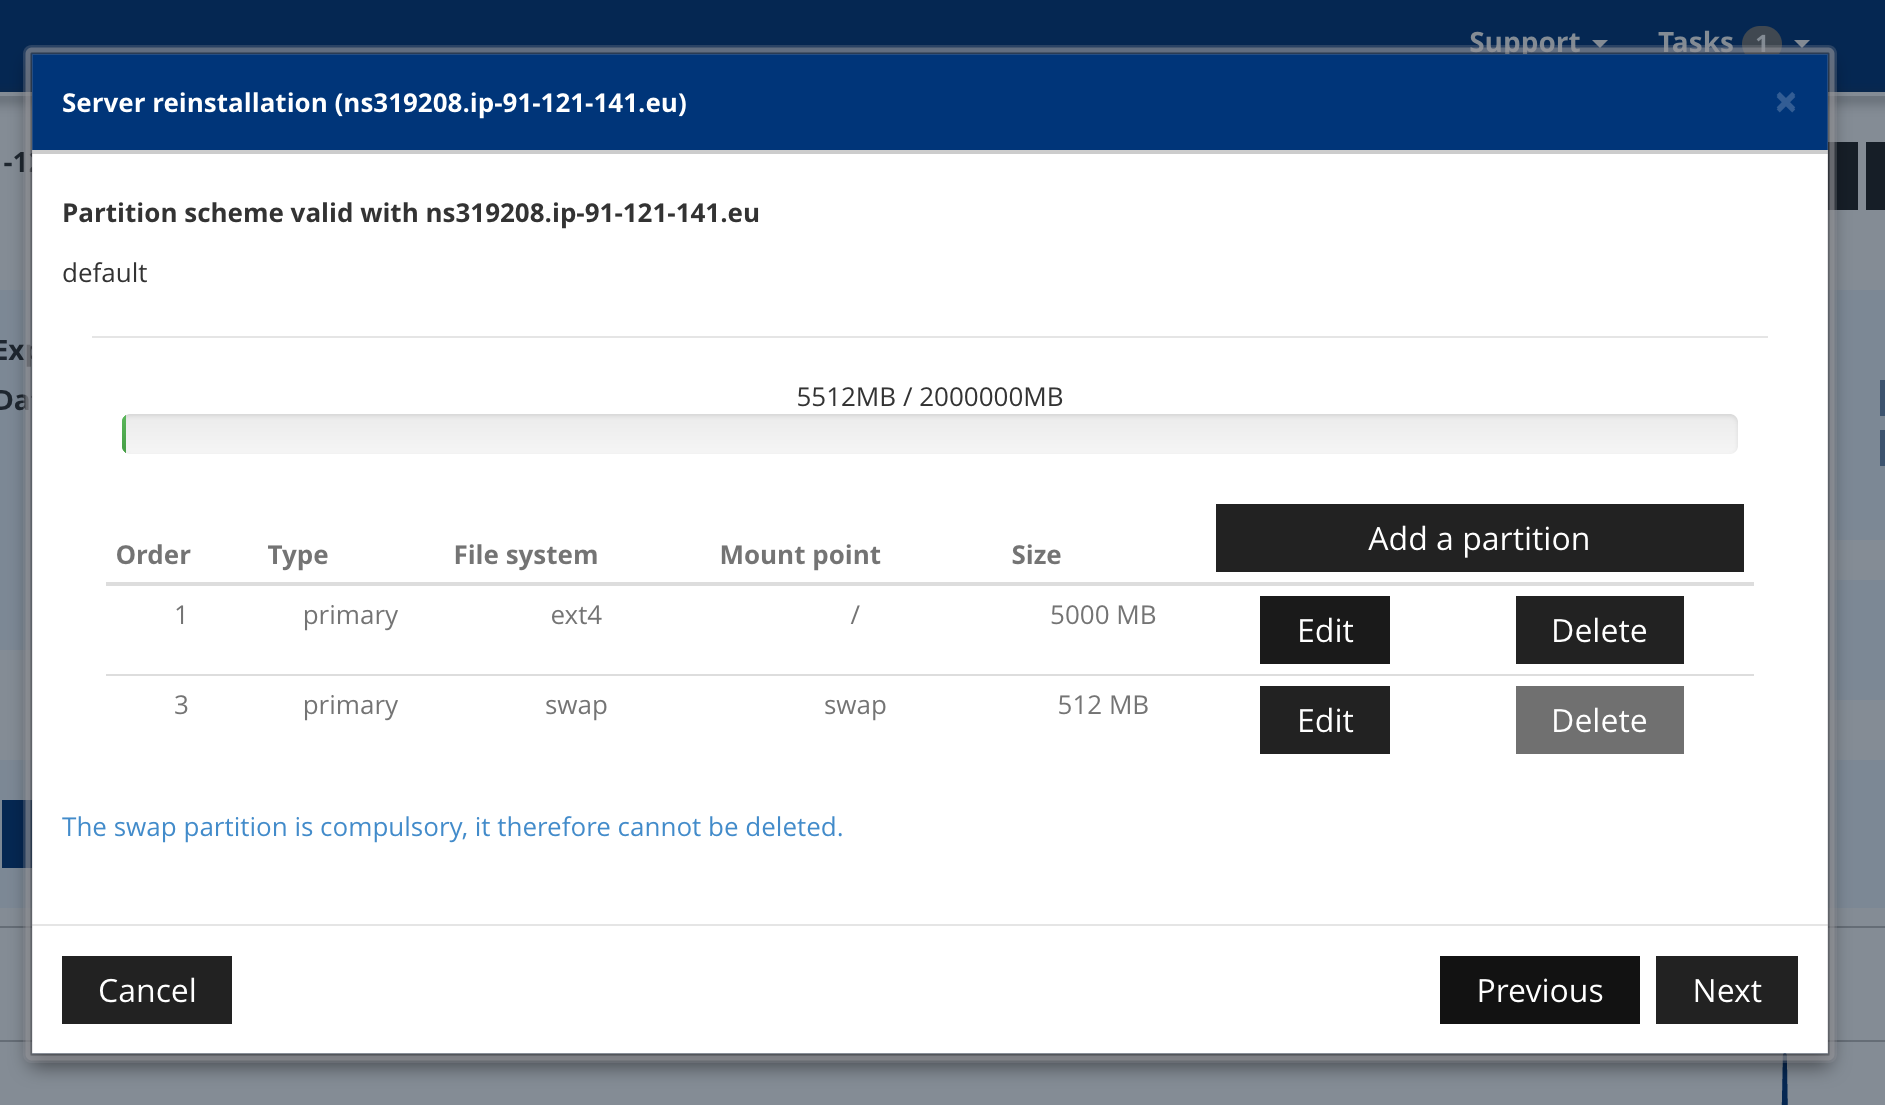
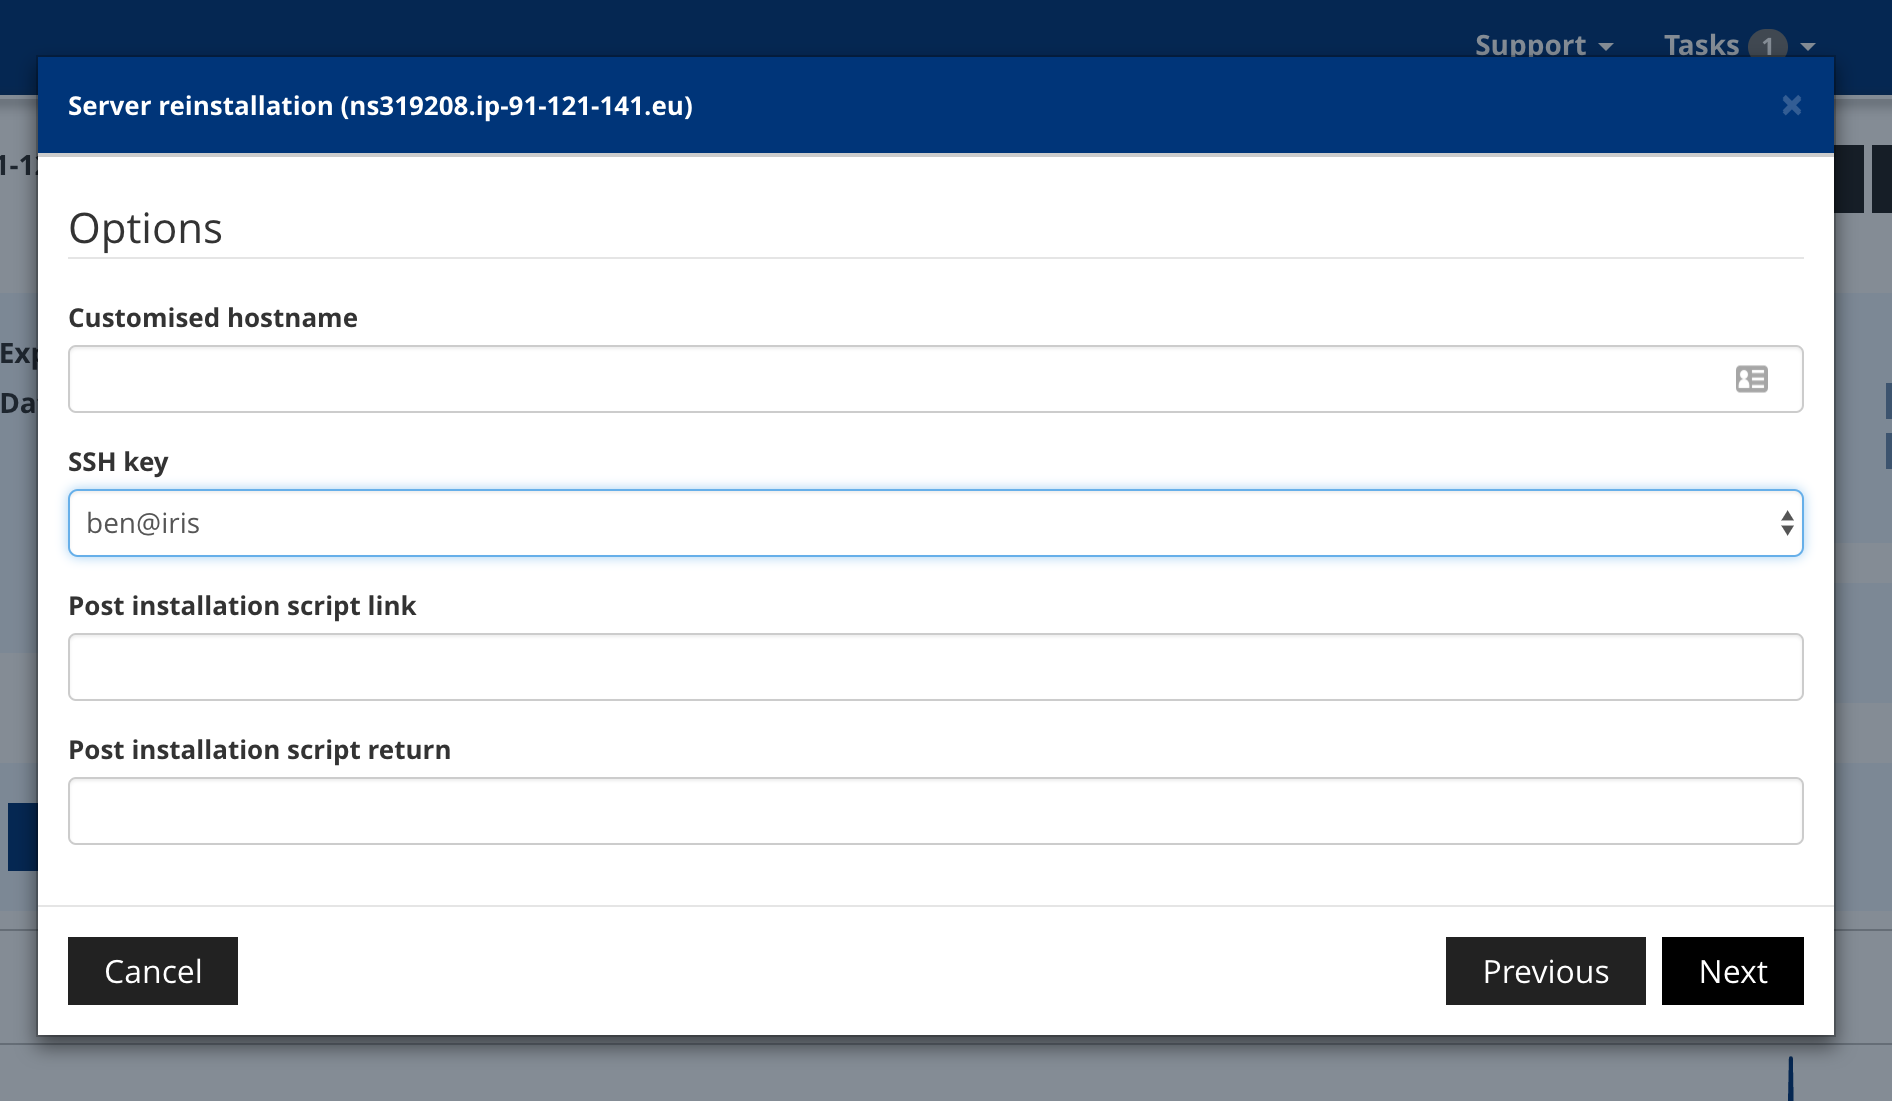
- Skip past the partitions screen (the CoreOS install template will ignore any custom partition settings anyway) and select your SSH key from the dropdown in the next screen.
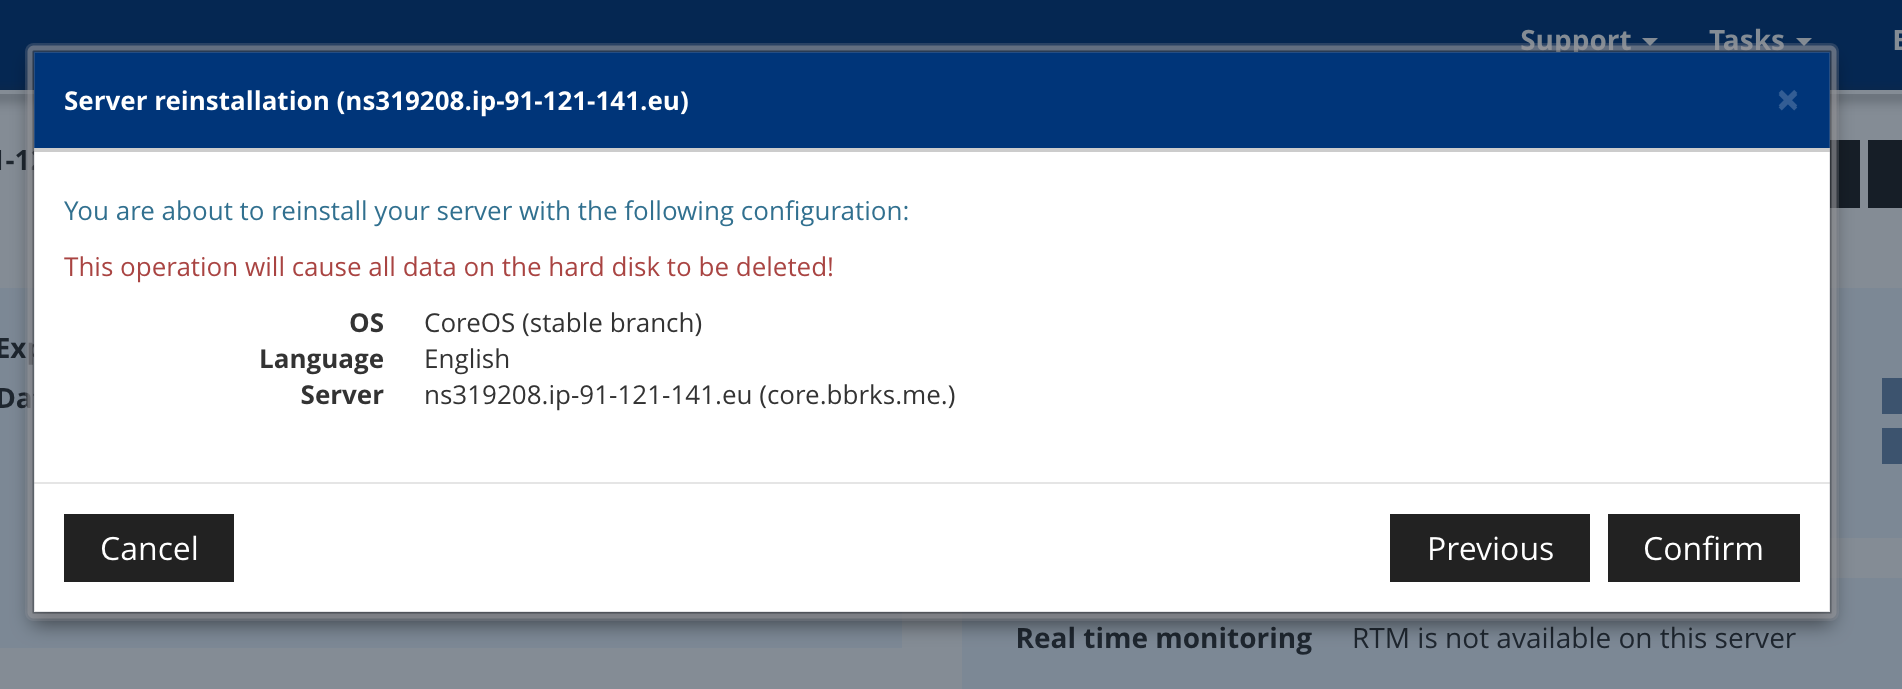
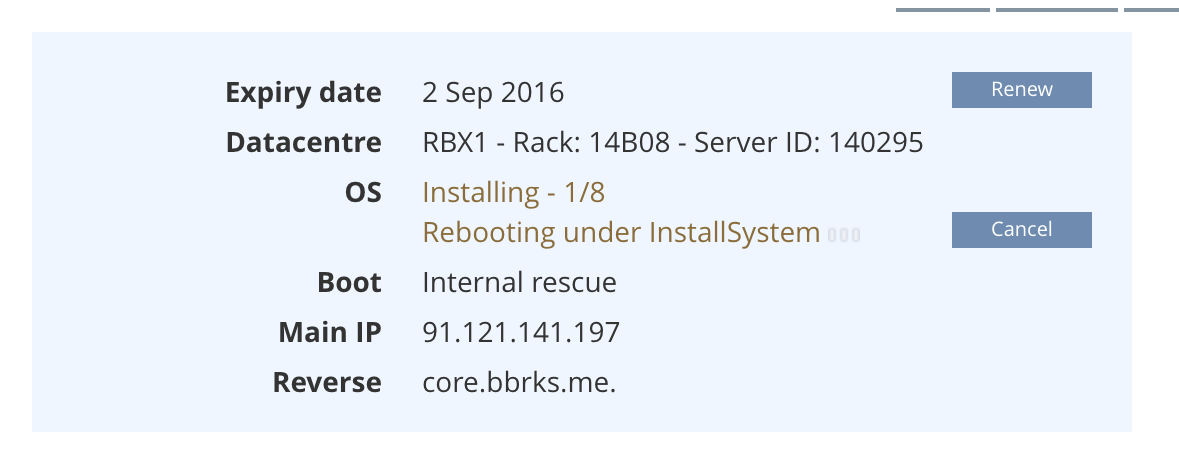
- Wait for the installation messages to finish.
- SSH to your server with the
coreuser… You’re finished!

See the CoreOS documentation for launching containers with fleet.